Create and Share a New Split Payment Link
This full walkthrough explains how to log into Zplit, create a new payment link, configure payees and percentages, and generate a Stripe-powered payment link to send to a client. It ensures payments are collected securely and automatically routed to collaborators once the client pays.
Key Steps
1. Access Zplit and sign in 0:00

Open Zplit and click Get Started at the top of the page.
Choose Continue with Google to sign in.
Confirm that your Stripe connection is active; Zplit will verify this automatically during signup.
Once connected, proceed to the dashboard.
2. Review the dashboard 0:39
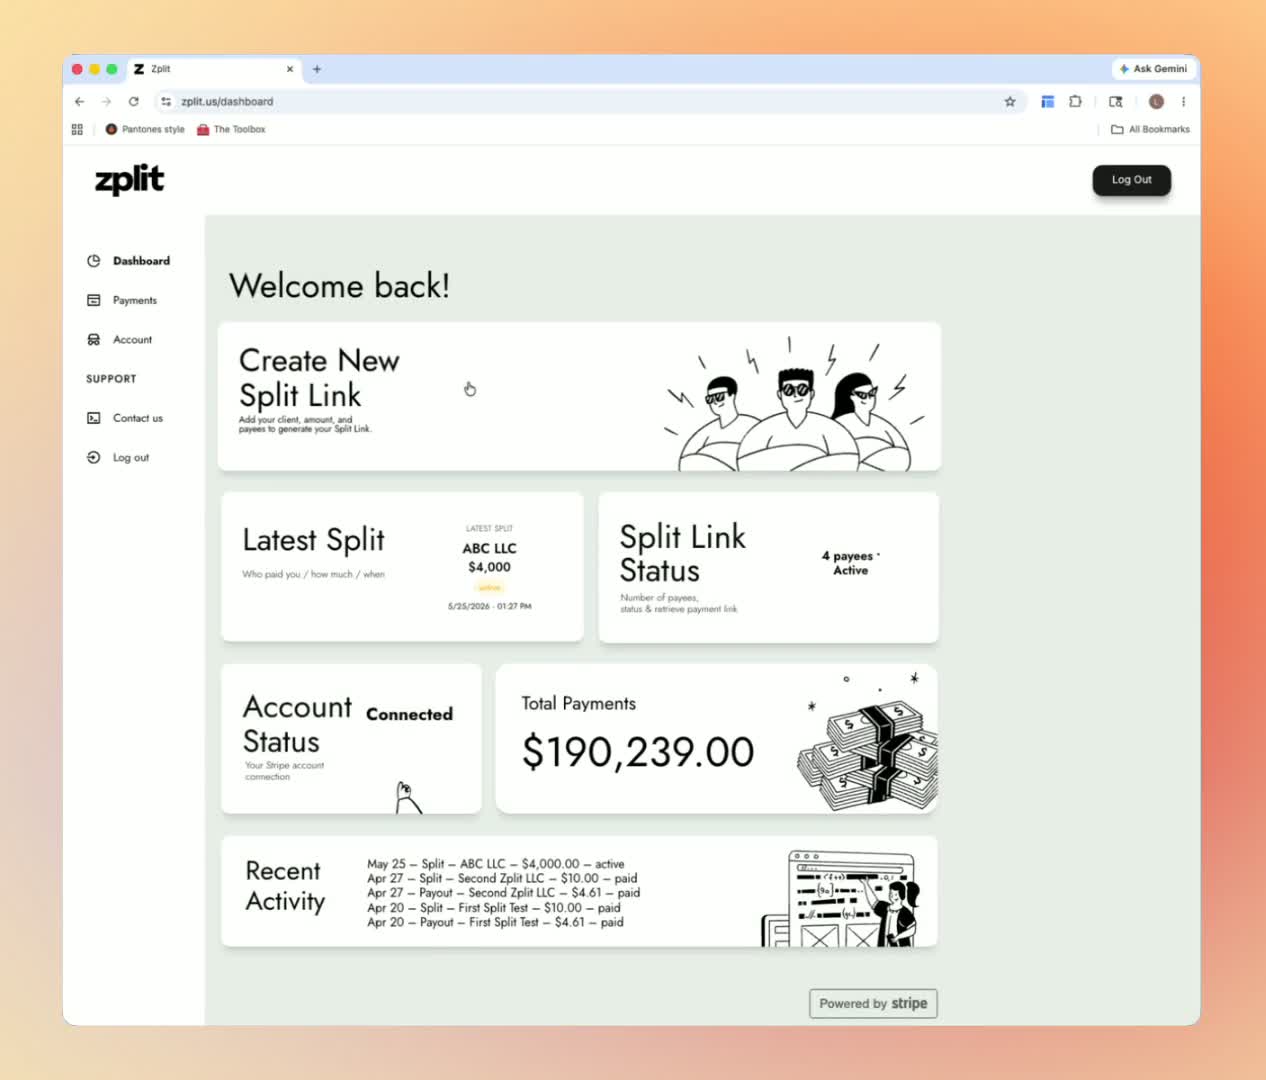
On the dashboard, review the available account information.
Check the following items as needed:
Existing Split links
Split status
Number of payees
Whether a split is active or already paid
Account status
Total payments
Recent activity
Use the dashboard to confirm your account is ready before creating a new split.
3. Start a new Split link 1:02
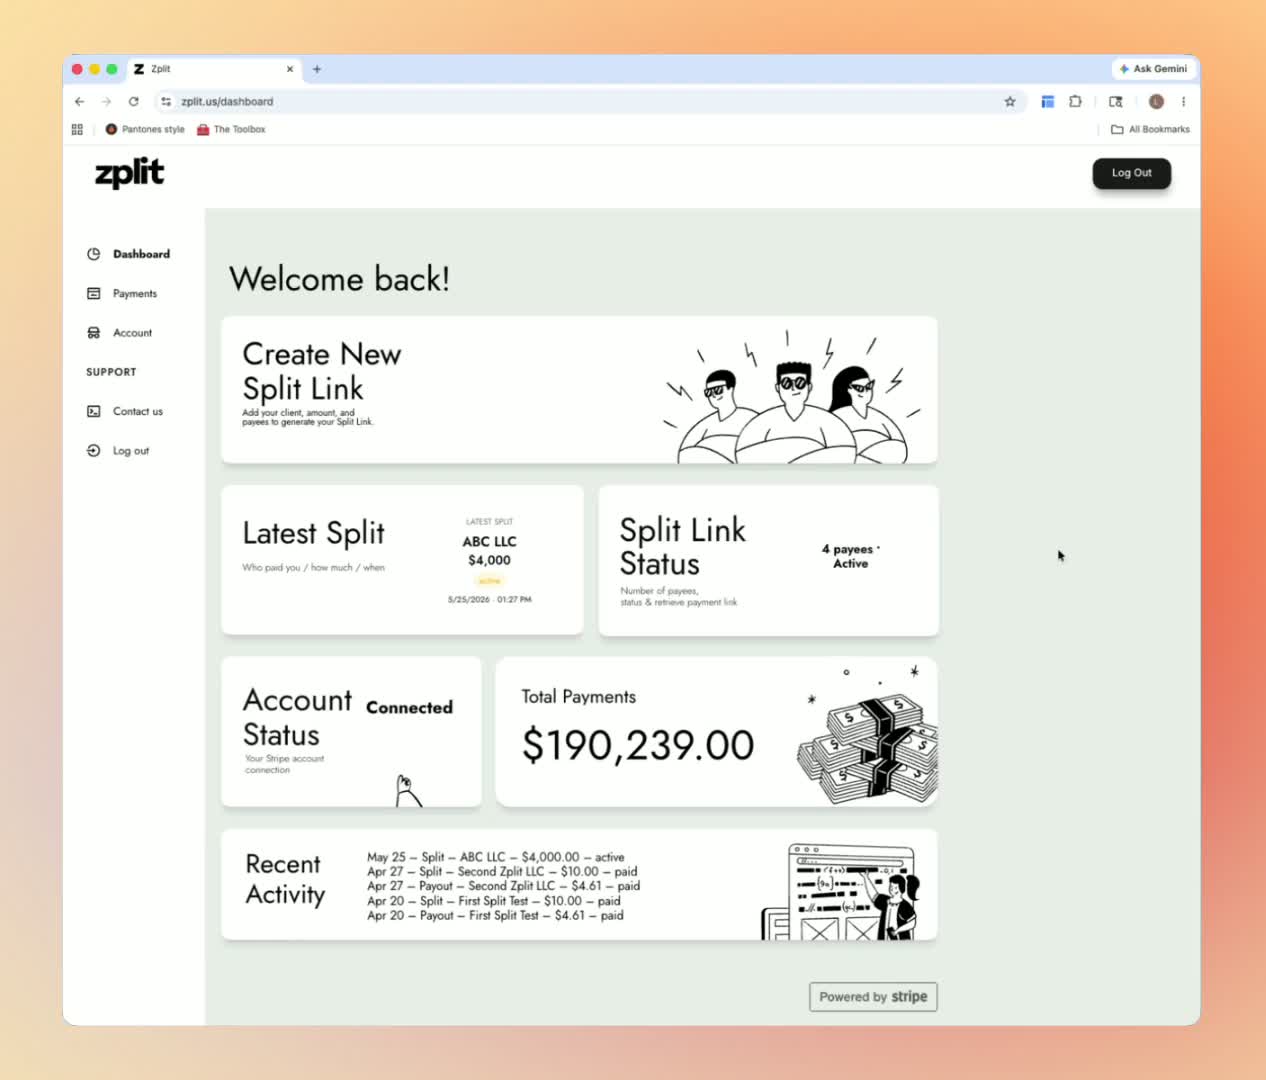
Click the option to create a new Split link.
A new window will open where you can add up to four payees.
Prepare the client name, total amount, organizer details, and collaborator details before entering the form.
4. Enter client and payment details 1:14
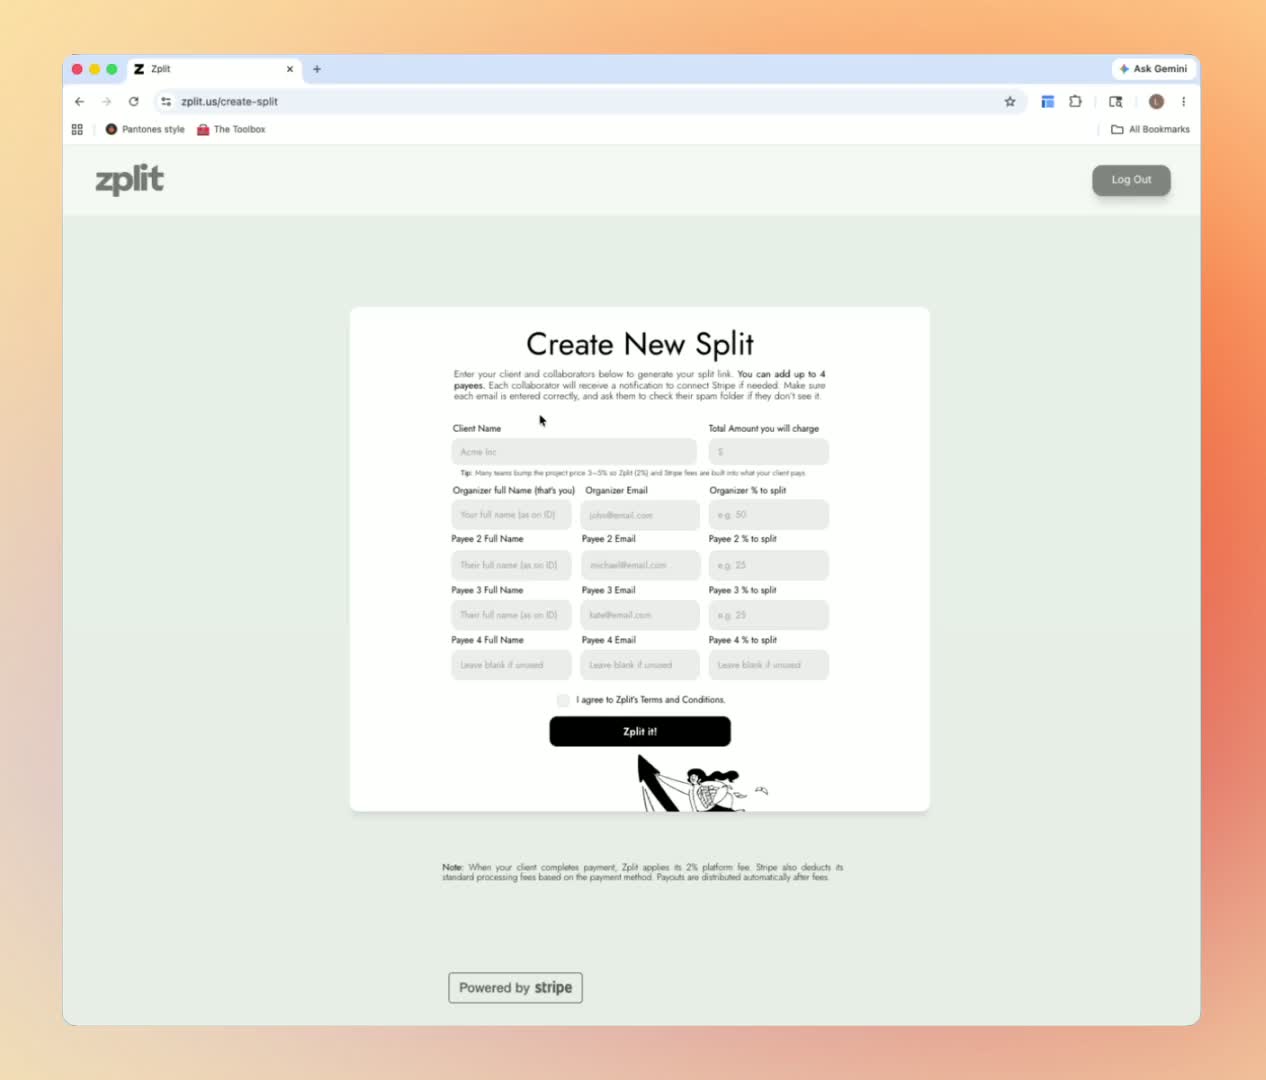
Enter the client name.
Example:
ABC LLC
Enter the total amount to charge the client.
Example:
$4,000
Enter the organizer’s full name.
Example:
John Doe
Enter the organizer’s email address.
Example:
john@gmail.com
5. Add payees and assign split percentages 1:53
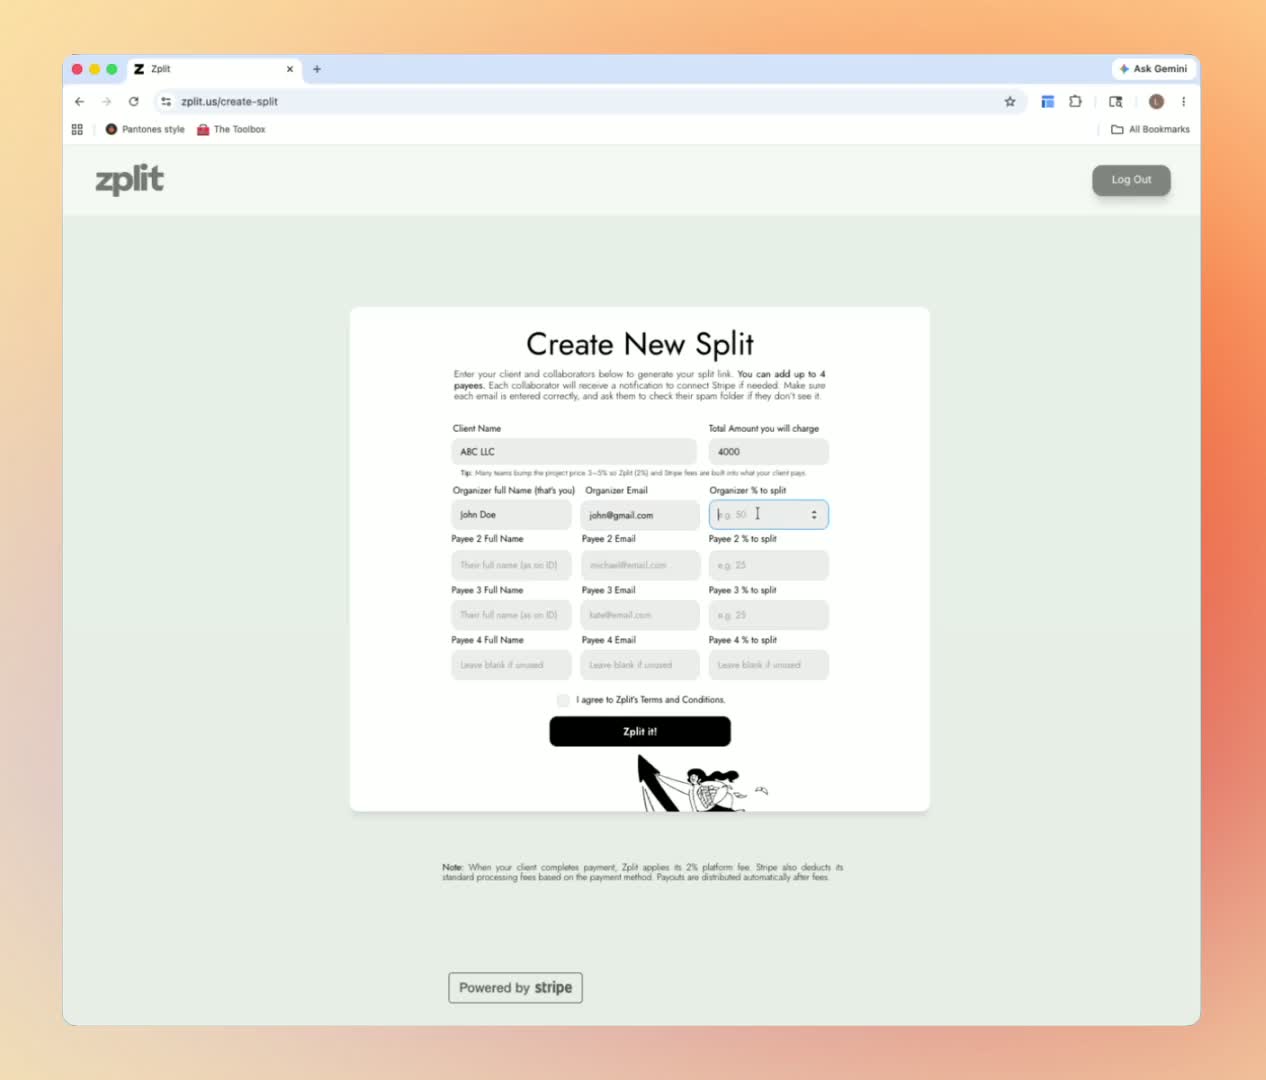
Add each collaborator as a payee.
For each payee, enter:
Full name
Email address
Percentage share
Example payees:
Payee 1: John Doe —
john@gmail.com—25%Payee 2: Frank Ocean —
frank@gmail.com—25%Payee 3: Mary Allison —
mary@gmail.com—25%Payee 4: William Foreman —
william@gmail.com—25%
Double-check all email addresses because invitations will be sent to each payee.
6. Verify the split totals and submit 3:06
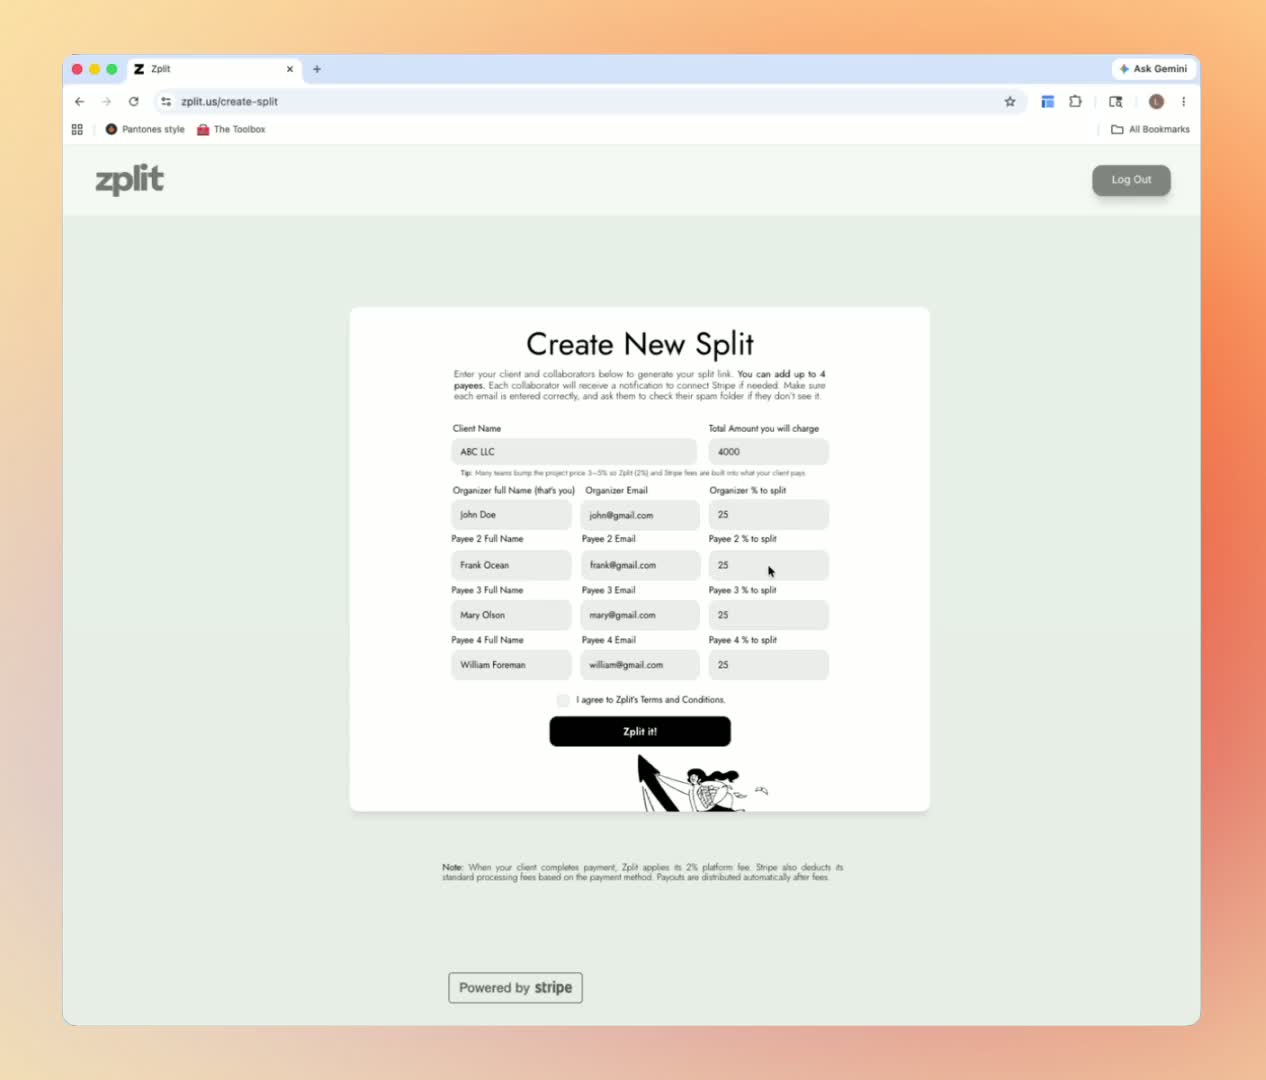
Confirm that all percentages add up to 100%.
If the total is not 100%, correct the percentages before continuing.
Review the form for accuracy.
Check I Agree on Terms and Conditions.
Click Zplit it to create the split setup.
7. Generate the payment link 3:31
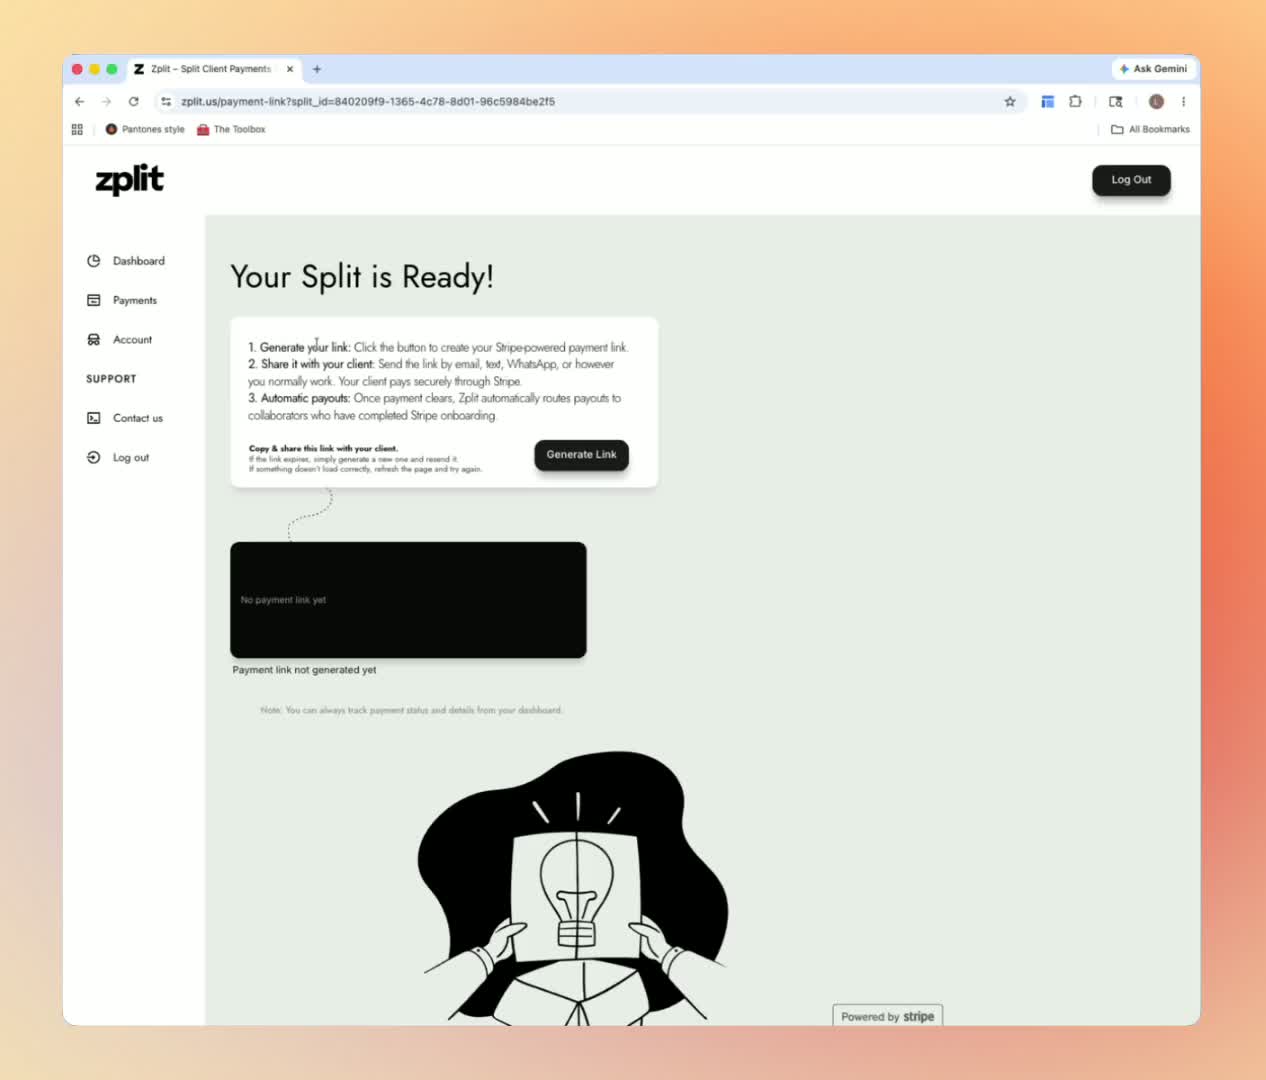
After submitting, a confirmation window will appear showing that the split is ready.
Follow the first step shown in the new window.
Click Generate Link to create the Stripe-powered payment link.
The generated link will appear in the provided field.
8. Share the link with the client 3:42
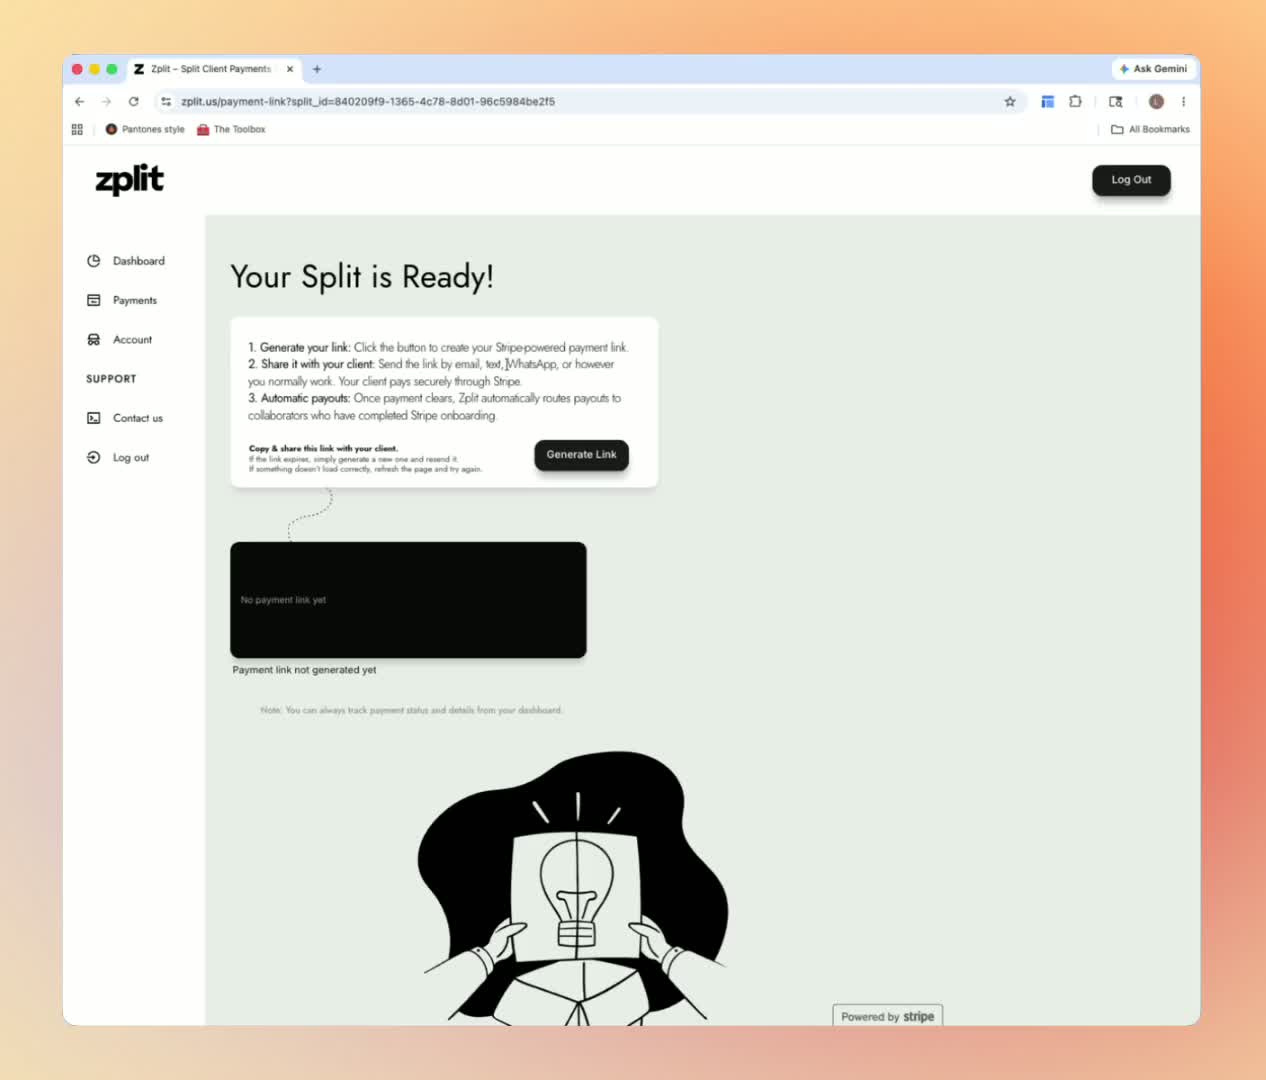
Copy the generated payment link.
Send it to the client using your preferred communication method, such as:
Email
WhatsApp
Other client communication channels
Inform the client that payment is processed securely through Stripe.
9. Client completes payment and payouts are routed 4:24
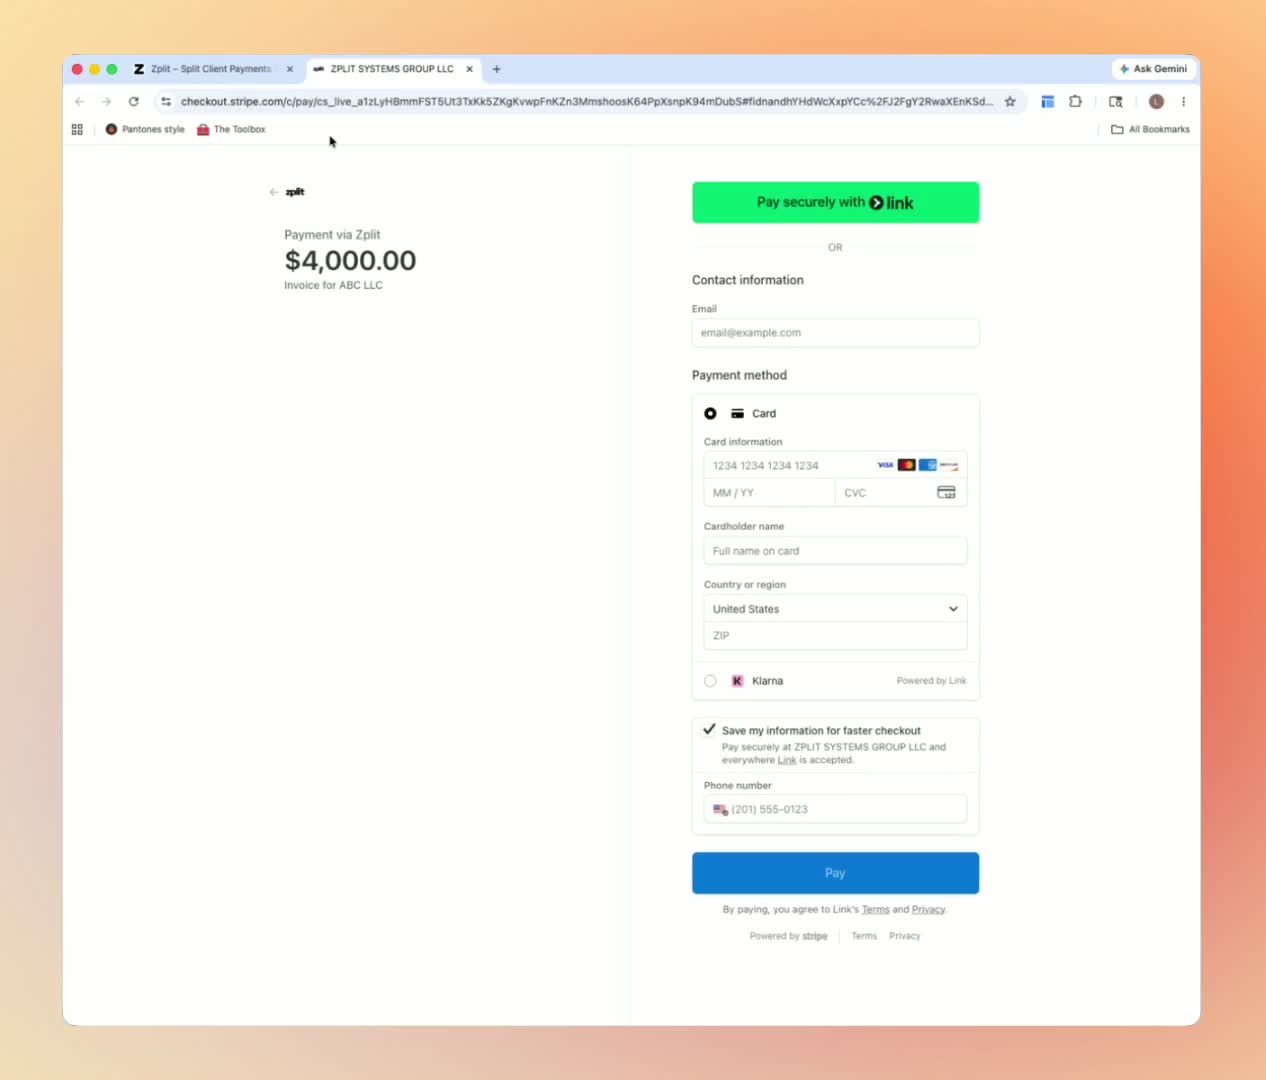
The client opens the link and sees the payment page.
The client reviews the amount and client name shown on the page.
The client completes payment using available methods, such as:
Credit card
Bank transfer
Other supported payment methods
Once payment clears, Split automatically routes payouts to the collaborators entered in the setup.
Cautionary Notes
Ensure Stripe is connected before creating a split link.
Verify all collaborator email addresses carefully; incorrect emails may prevent invitations and payouts from reaching the right people.
Make sure the split percentages total exactly 100% or the system will return an error.
Confirm the client name and total amount are correct before generating the link.
Review and accept the Terms and Conditions only after confirming all details are accurate.
Tips for Efficiency
Prepare all collaborator names, emails, and percentages before opening the split form.
Use a consistent naming convention for clients and payees to reduce errors.
Keep split percentages simple and balanced when possible.
Copy and store the generated link immediately after creation for easy sharing.
Test your workflow with a sample split first if your team is new to the process.